
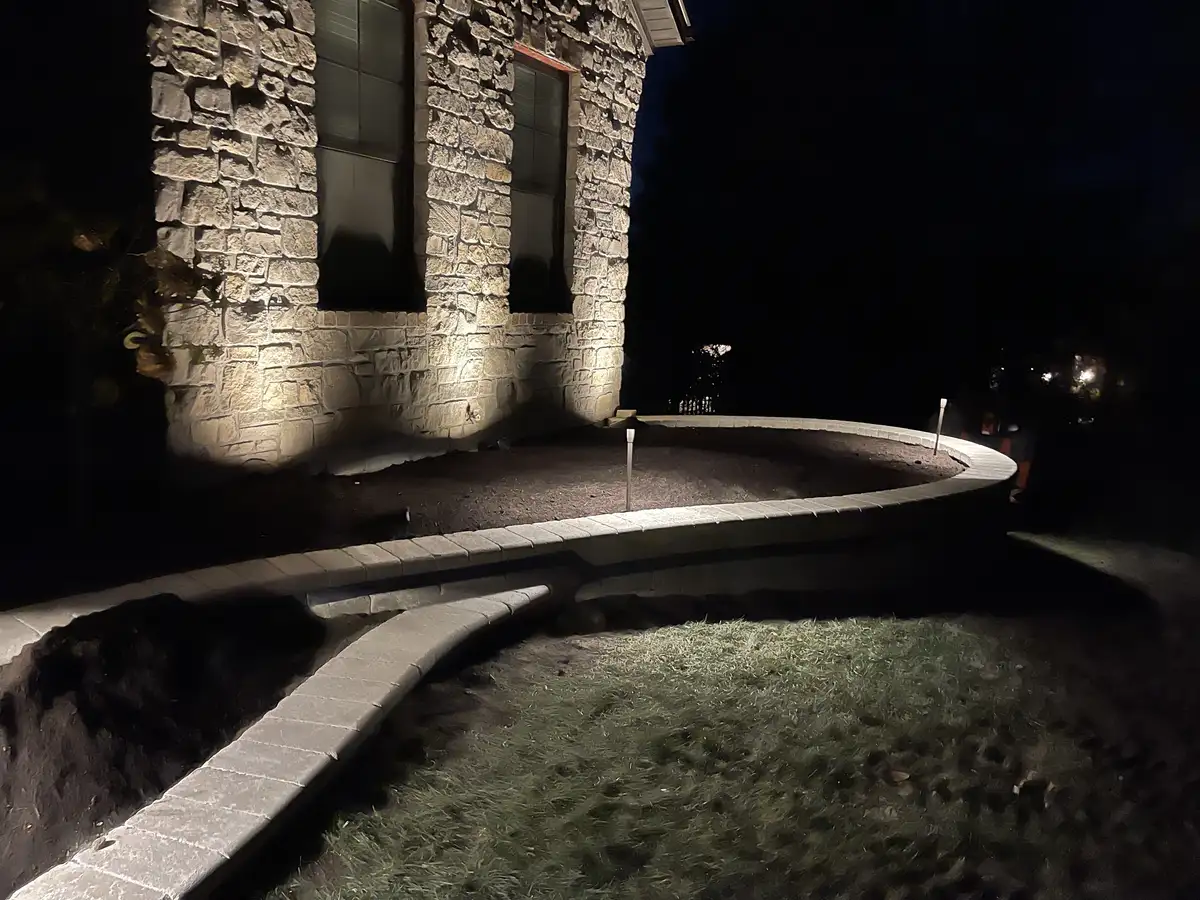
Landscape Lighting Ideas for St. Louis Homes: Extend Your Outdoor Season

A well-planned landscape lighting system can make paths easier to follow, define gathering areas, and keep key landscape features visible after sunset. Start with how you move through the yard at night, then decide which areas need task light, gentle wayfinding, or a visual focal point.
If you already have a paver patio, retaining walls, or an outdoor kitchen and fire feature, a lighting plan can improve nighttime visibility and help those spaces feel connected after dark.
The ideas below help you compare fixture purpose, placement, glare, controls, electrical responsibilities, and maintenance without assuming one layout fits every property.
Path Lighting: The Base of Every System
Path lights are the most common starting point, and for good reason. They solve the most basic problem: being able to walk safely from your back door to the patio, fire pit, or pool area without tripping over a step, tree root, or grade change in the dark.
Path-light spacing should be set by fixture output, mounting height, beam spread, walkway width, grade changes, obstructions, and the amount of ambient light on the property.
For path lighting, compare fixtures designed for the intended outdoor location and system voltage. Review the selected fixture's output, beam spread, color temperature, controls, electrical requirements, and current manufacturer performance data rather than relying on a universal efficiency or lifespan figure.
Placement Tips for Walkway Lights
- Stagger, do not line up. Path lights placed in a straight row on one side of a walkway look institutional. Instead, stagger them on alternating sides at irregular intervals. This creates a natural rhythm and avoids the airport-runway look that many homeowners end up with.
- Light the destination, not just the path. Place one or two fixtures at the end of the walkway -- near the patio edge, the fire pit, or the pool gate. This draws the eye forward and makes the space feel inviting rather than just functional.
- Account for plantings. If your walkway runs through or alongside planting beds, keep fixtures positioned so that mature plants will not block the light in two or three years. Hostas, daylilies, and ornamental grasses common in St. Louis landscapes grow significantly wider than most homeowners expect.
Step and Wall Lighting: Where Safety Meets Design
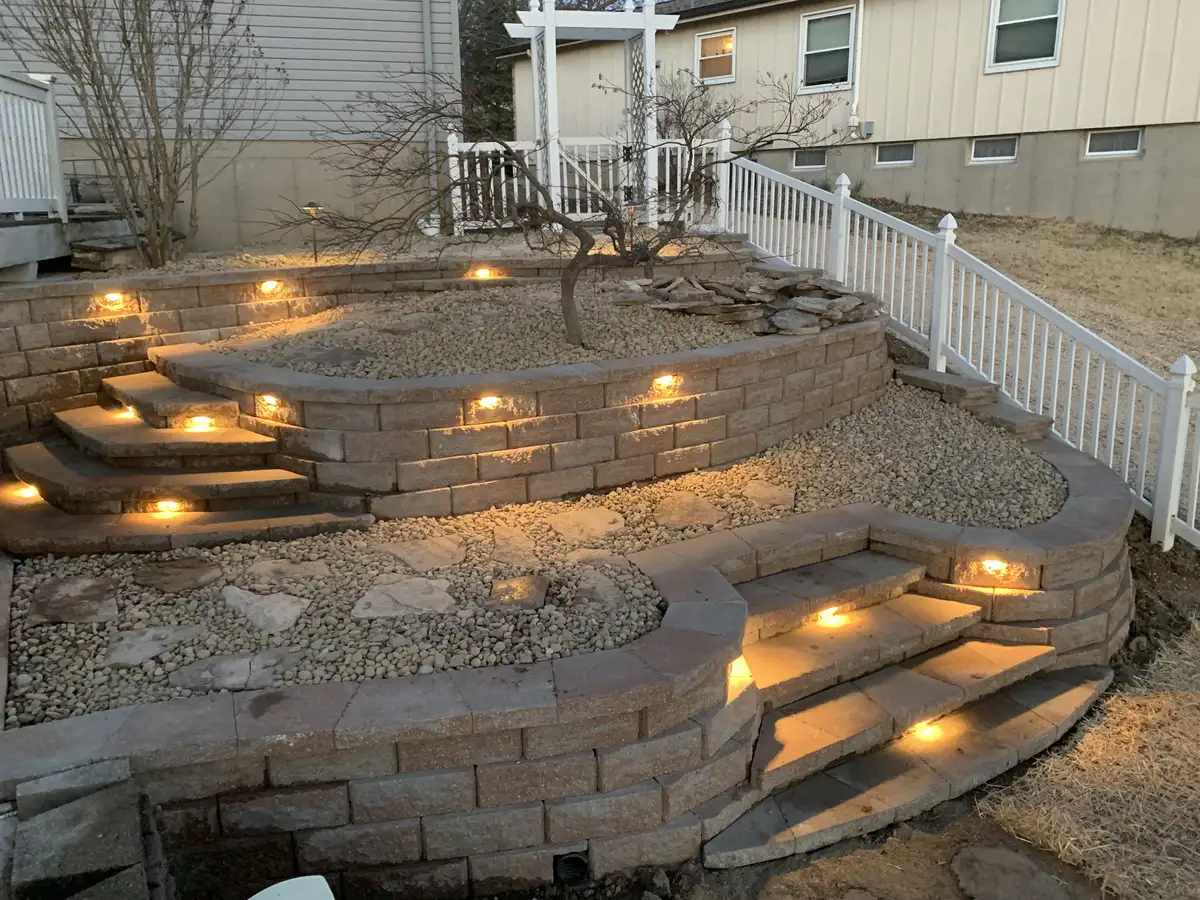
Step lights are small LED fixtures recessed into the riser face of outdoor steps or built into the caps of retaining walls. They cast a downward wash of light that illuminates the tread without blinding anyone walking toward them. This is one of the most important safety features you can add to any outdoor space with elevation changes.
If your property has a tiered patio with retaining walls separating the levels -- a common layout across St. Louis County and Jefferson County -- step lights built into the wall caps serve double duty. They light the steps for safety and they define the wall edge visually, which turns a functional structure into a design element after dark.
If you are planning a new patio or wall project, discuss step lighting early. Ask how the selected fixtures, wiring route, service access, wall system, licensed-trade needs, and future replacement will be coordinated; retrofit difficulty depends on the existing construction.
Uplighting: Making Trees and Architecture Stand Out
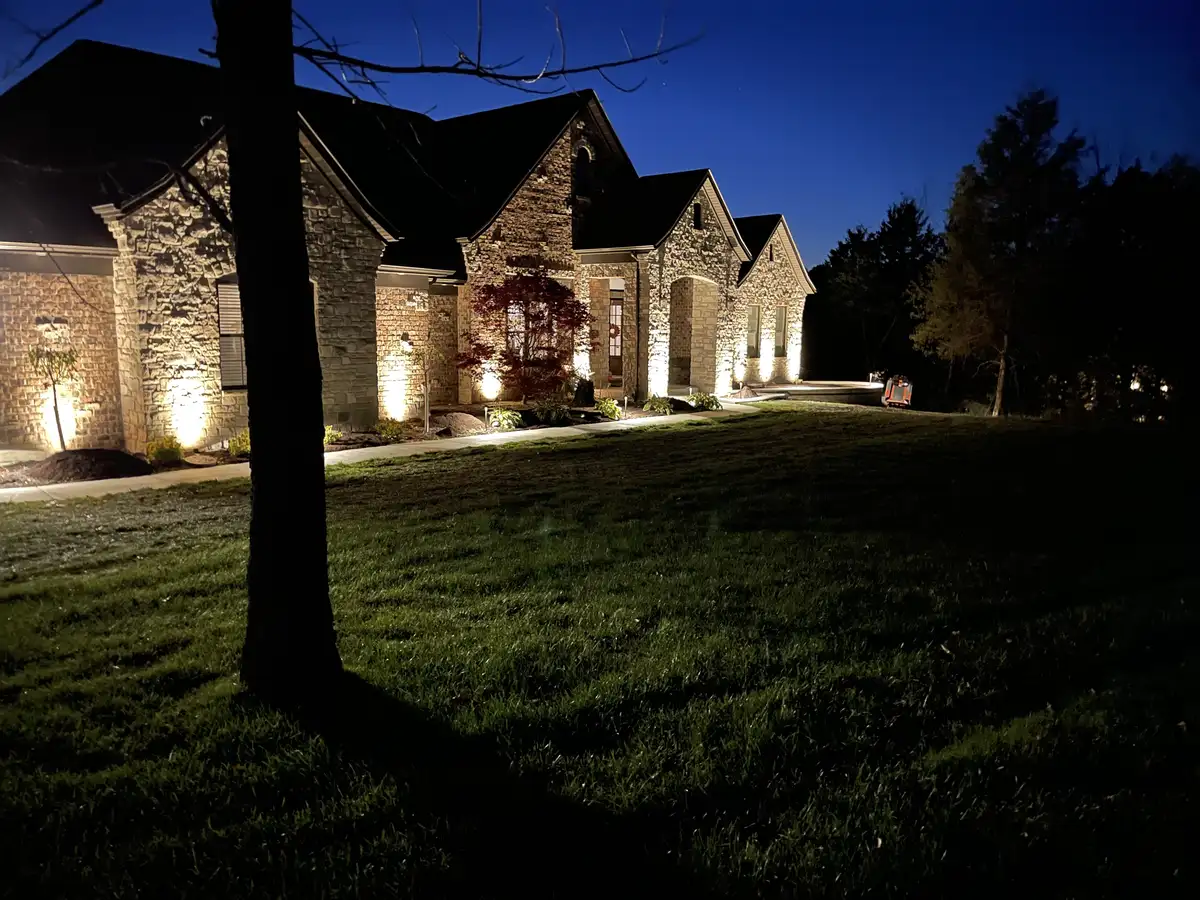
Uplighting is a fixture aimed straight up from ground level at a tree trunk, a stone facade, or an architectural feature. A single well-placed uplight on a mature oak, maple, or sycamore tree transforms the entire backyard at night. The light catches the trunk texture and filters through the canopy, creating depth and shadow that no other technique can replicate.
St. Louis has outstanding tree canopy compared to many Midwest metros. If you have a 40-foot pin oak or a sugar maple in your backyard, one or two uplights at the base will do more for the overall nighttime feel of your yard than 20 path lights scattered across the lawn.
Where Uplighting Works Best
- Mature trees with interesting bark or branching structure. Oaks, maples, and river birch are ideal candidates. Avoid uplighting trees with dense low canopies like Bradford pears -- the light gets trapped and you lose the shadow effect.
- Stone or brick facades. Fixture output, beam angle, wall texture, mounting position, glare, and manufacturer clearances all affect how an uplight reads on masonry.
- Retaining walls and pillars. Use fixture photometrics, wall height, texture, beam spread, and nearby glare to plan spacing.
- Outdoor living features. A stone fireplace, pizza oven, or kitchen island deserves accent lighting even when the fire is not going. An uplight on each side of a fireplace surround makes the structure a focal point all evening.
Low Wall and Path Lighting for Evening Use
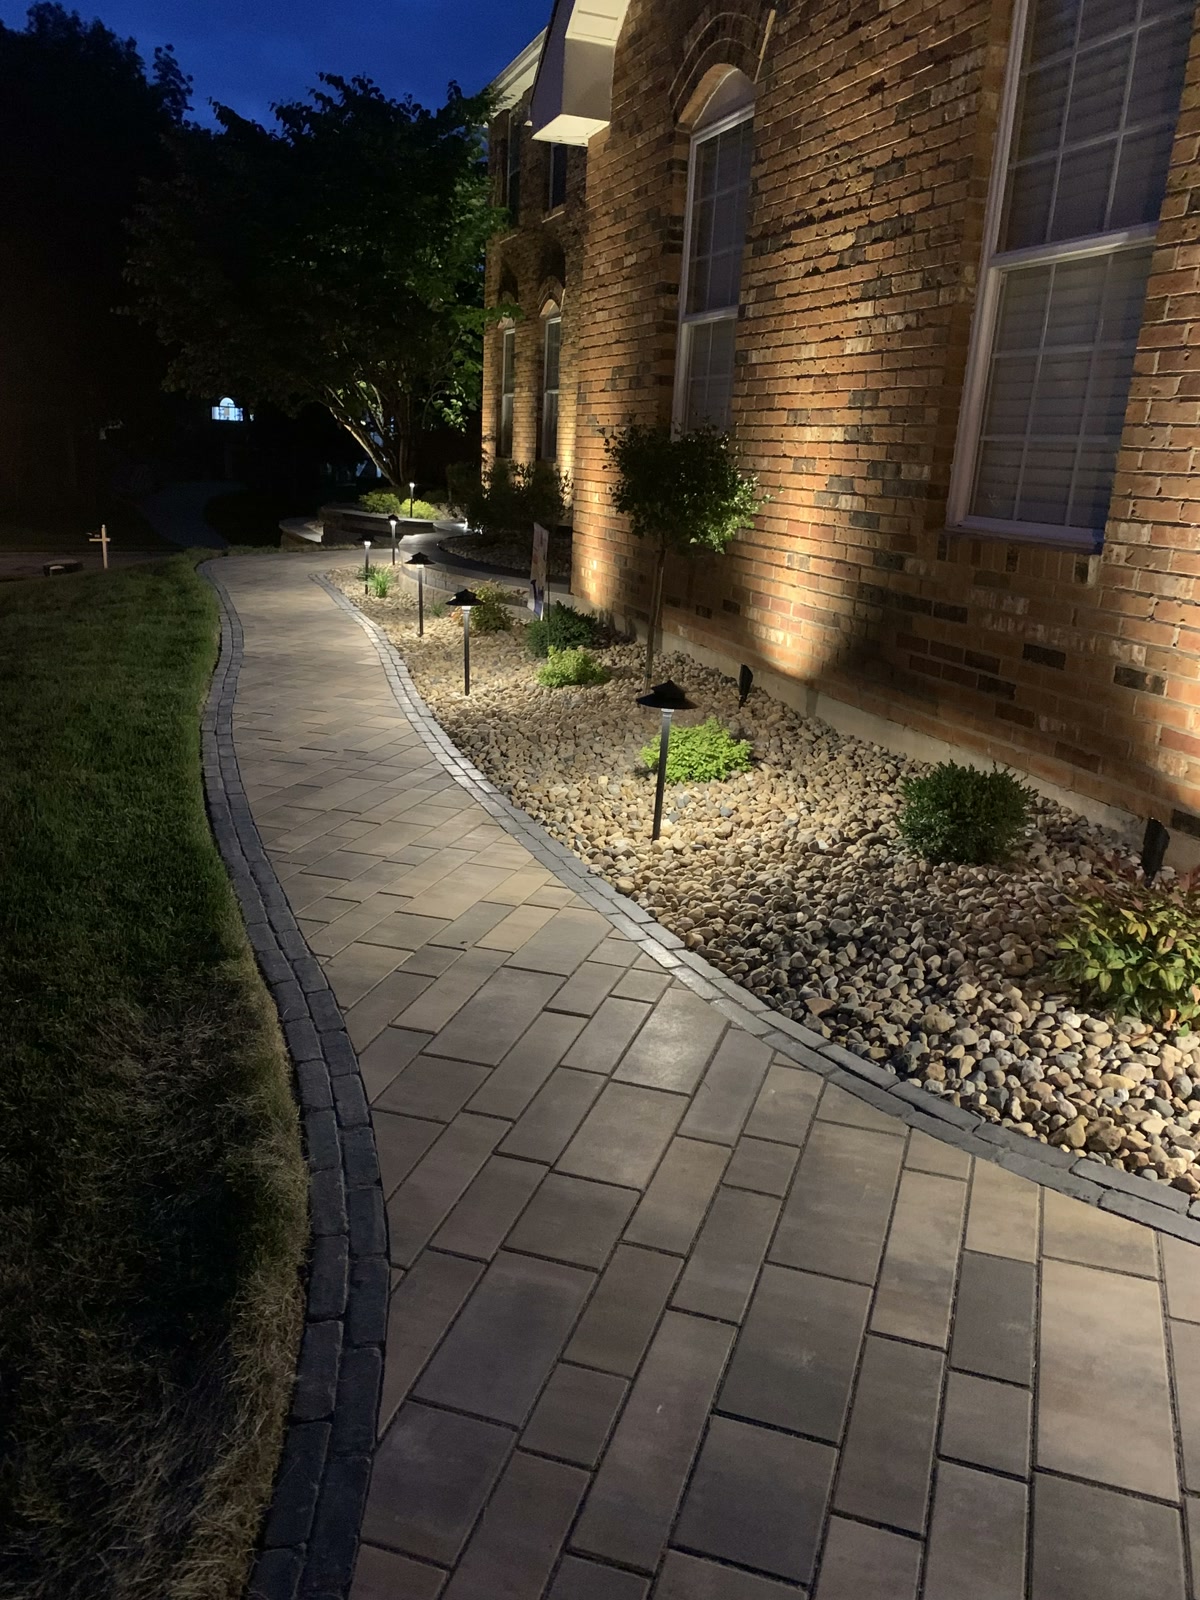
Low fixtures can reveal the curve of a walkway, the edge of a planting bed, or a change in elevation without flooding the whole yard with light. The goal is enough illumination to understand the route while keeping glare out of your eyes and neighboring windows.
For wall and path lighting, compare beam spread, fixture height, shielding, finish, service access, and how plants will grow around each location. Select outdoor-rated products and confirm electrical requirements with an appropriately qualified professional.
Plan the Route, Not a Row of Fixtures
- Mark decision points. Prioritize steps, intersections, gates, and direction changes instead of placing lights at arbitrary intervals.
- Control glare. Use shields and careful aiming so the light reaches the walking surface without exposing a bright source to the viewer.
- Allow for growth. Keep fixtures accessible and account for the mature size of nearby shrubs and ornamental grasses.
Choosing the Right Color Temperature
Color temperature is measured in Kelvin (K) and determines whether your outdoor lighting feels warm and inviting or cold and sterile. For residential landscape lighting in the St. Louis area, this is the breakdown:
| Color Temperature | Look & Feel | Best Use |
|---|---|---|
| 2700K (warm white) | Soft, golden, candlelight quality | Patios, fire pits, dining areas, string lights |
| 3000K (neutral warm) | Slightly brighter, still warm | Path lights, step lights, general landscape |
| 4000K (cool white) | Bright, clinical, bluish tint | Security lights, utility areas (avoid for entertaining spaces) |
The most common mistake we see in St. Louis is mixing color temperatures. A homeowner buys path lights at one temperature, string lights at another, and step lights at a third. The result is a patchwork that looks disjointed. Pick one temperature for your entire system -- 2700K or 3000K -- and stick with it. The consistency makes everything look intentional.
Low-Voltage vs. Line-Voltage: Which Is Right for Your Property
Low-voltage and line-voltage systems have different equipment, installation, protection, and code requirements. Do not treat low voltage as risk-free: damaged wiring and incorrect components still require attention. Confirm the selected system, permits, and licensed-trade requirements with the authority having jurisdiction and the product instructions.
A low-voltage system may include a transformer, direct-burial cable, compatible connectors, and fixtures selected for the intended effect. Transformer sizing, cable runs, voltage drop, controls, and fixture count should be calculated for the actual property.
System choice depends on the application, desired output, existing power, controls, run lengths, products, code requirements, and qualified electrical guidance. Compare those factors before selecting equipment.
Maintenance in a St. Louis Climate
LED landscape lighting is remarkably low-maintenance, but it is not zero-maintenance. St. Louis weather creates a few recurring tasks:
- After severe weather. Look for visible damage, shifted fixtures, exposed components, or debris; disconnect power and contact a qualified professional when electrical damage is suspected.
- After bed or mulch work. Keep lenses and ventilation openings clear according to the fixture instructions, and avoid burying fixtures or accessible connections.
- As plants grow. Trim only as appropriate for the plant and keep fixtures accessible so foliage does not block the intended beam.
- When performance changes. Check controls and visible obstructions, then use the manufacturer troubleshooting guidance or qualified service rather than improvising electrical repairs.
Maintenance time varies with the number and type of fixtures, plant growth, storm exposure, controls, and system condition. Ask what routine checks and professional service the selected products require.
When to Plan Your Lighting Installation
Installation timing depends on the design, site access, soil conditions, planting work, product availability, electrical coordination, approvals, and weather.
If you are planning a new hardscaping project or landscape renovation, discuss lighting before finalizing surfaces. Early coordination can reserve suitable routes and access, but the actual method must follow the selected system, product instructions, codes, and project design.
Retrofit timing depends on fixture selection, cable routes, transformer location and sizing, controls, access, existing hardscape, and any electrical work or approvals.
Get Started With a Lighting Plan
The best landscape lighting does not just illuminate your yard -- it changes how your property feels. Guests notice. Neighbors notice. And you will notice the difference the first evening you walk out onto a properly lit patio and realize you do not want to go back inside.
Share the paths, steps, entries, gathering areas, and landscape features you want to see after dark. A project estimate can define fixture locations, glare control, controls, wiring, trade responsibilities, and the proposed scope.
Call us at (314) 630-8814 or request a project estimate online.
Browse our landscape design services, explore outdoor living options, or review our project gallery for additional layout and material ideas.